Menus
How to Create Context Menus
Introduction
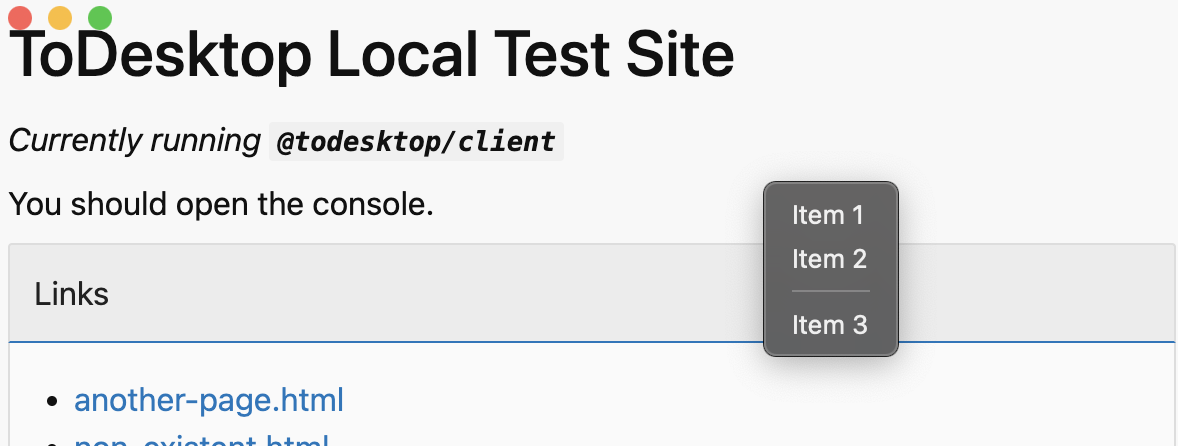
Adding context menus to your desktop app is simple with the ToDesktop API. In this short walkthrough, we’ll make the following menu accessible anywhere throughout your app:
Using your terminal, you'll first need to install the @todesktop/client-core package in your application. This package exposes functionality that we'll need for interacting with the underlying desktop application.
Listening for the context-menu event
With that installed, we'll use the webContents namespace to listen for the context-menu event that triggers when a user right clicks in your application:
Building and displaying the context menu
Inside the body of the function, we'll use the imported menu namespace to construct the context menu that we want to appear
Finally, we'll use another function on the menu namespace which makes the context menu visible at the current mouse coordinates:
And that's basically it! For more interesting ways in which you can use context menus, make sure to check out our short guide on building a dynamic menu that you can attach to the tray.
Creating multiple different context menus for different elements
You may want to create context menus that vary depending on the element being interacted with. For example, maybe you want to display one context menu when a user right clicks on an image, and another when they right click on a button. Let's see how we can do that.
First, we'll add an event listener to capture the clicked element. This information will be used to determine which context menu to display. The event.target property will contain the element that was clicked, we are storing that property for use in our context-menu listener.
Handling different clicked elements
Utilize the ToDesktop API to listen for the context-menu event and display the appropriate menu based on the clickedElement that we stored in the previous step.
Attaching a context menu to a tray
To attache a context menu to a tray then you can check out our short guide on building a dynamic menu that you can attach to the tray.